
Is your Instant Pot not sealing, leaking steam, or refusing to build pressure?
This is one of the most common Instant Pot problems — and in most cases, it’s easy to fix in under 10 minutes.
What It Means When Your Instant Pot Is Not Sealing
When your Instant Pot doesn’t seal, it cannot build pressure.
Without pressure:
- The timer won’t start counting down
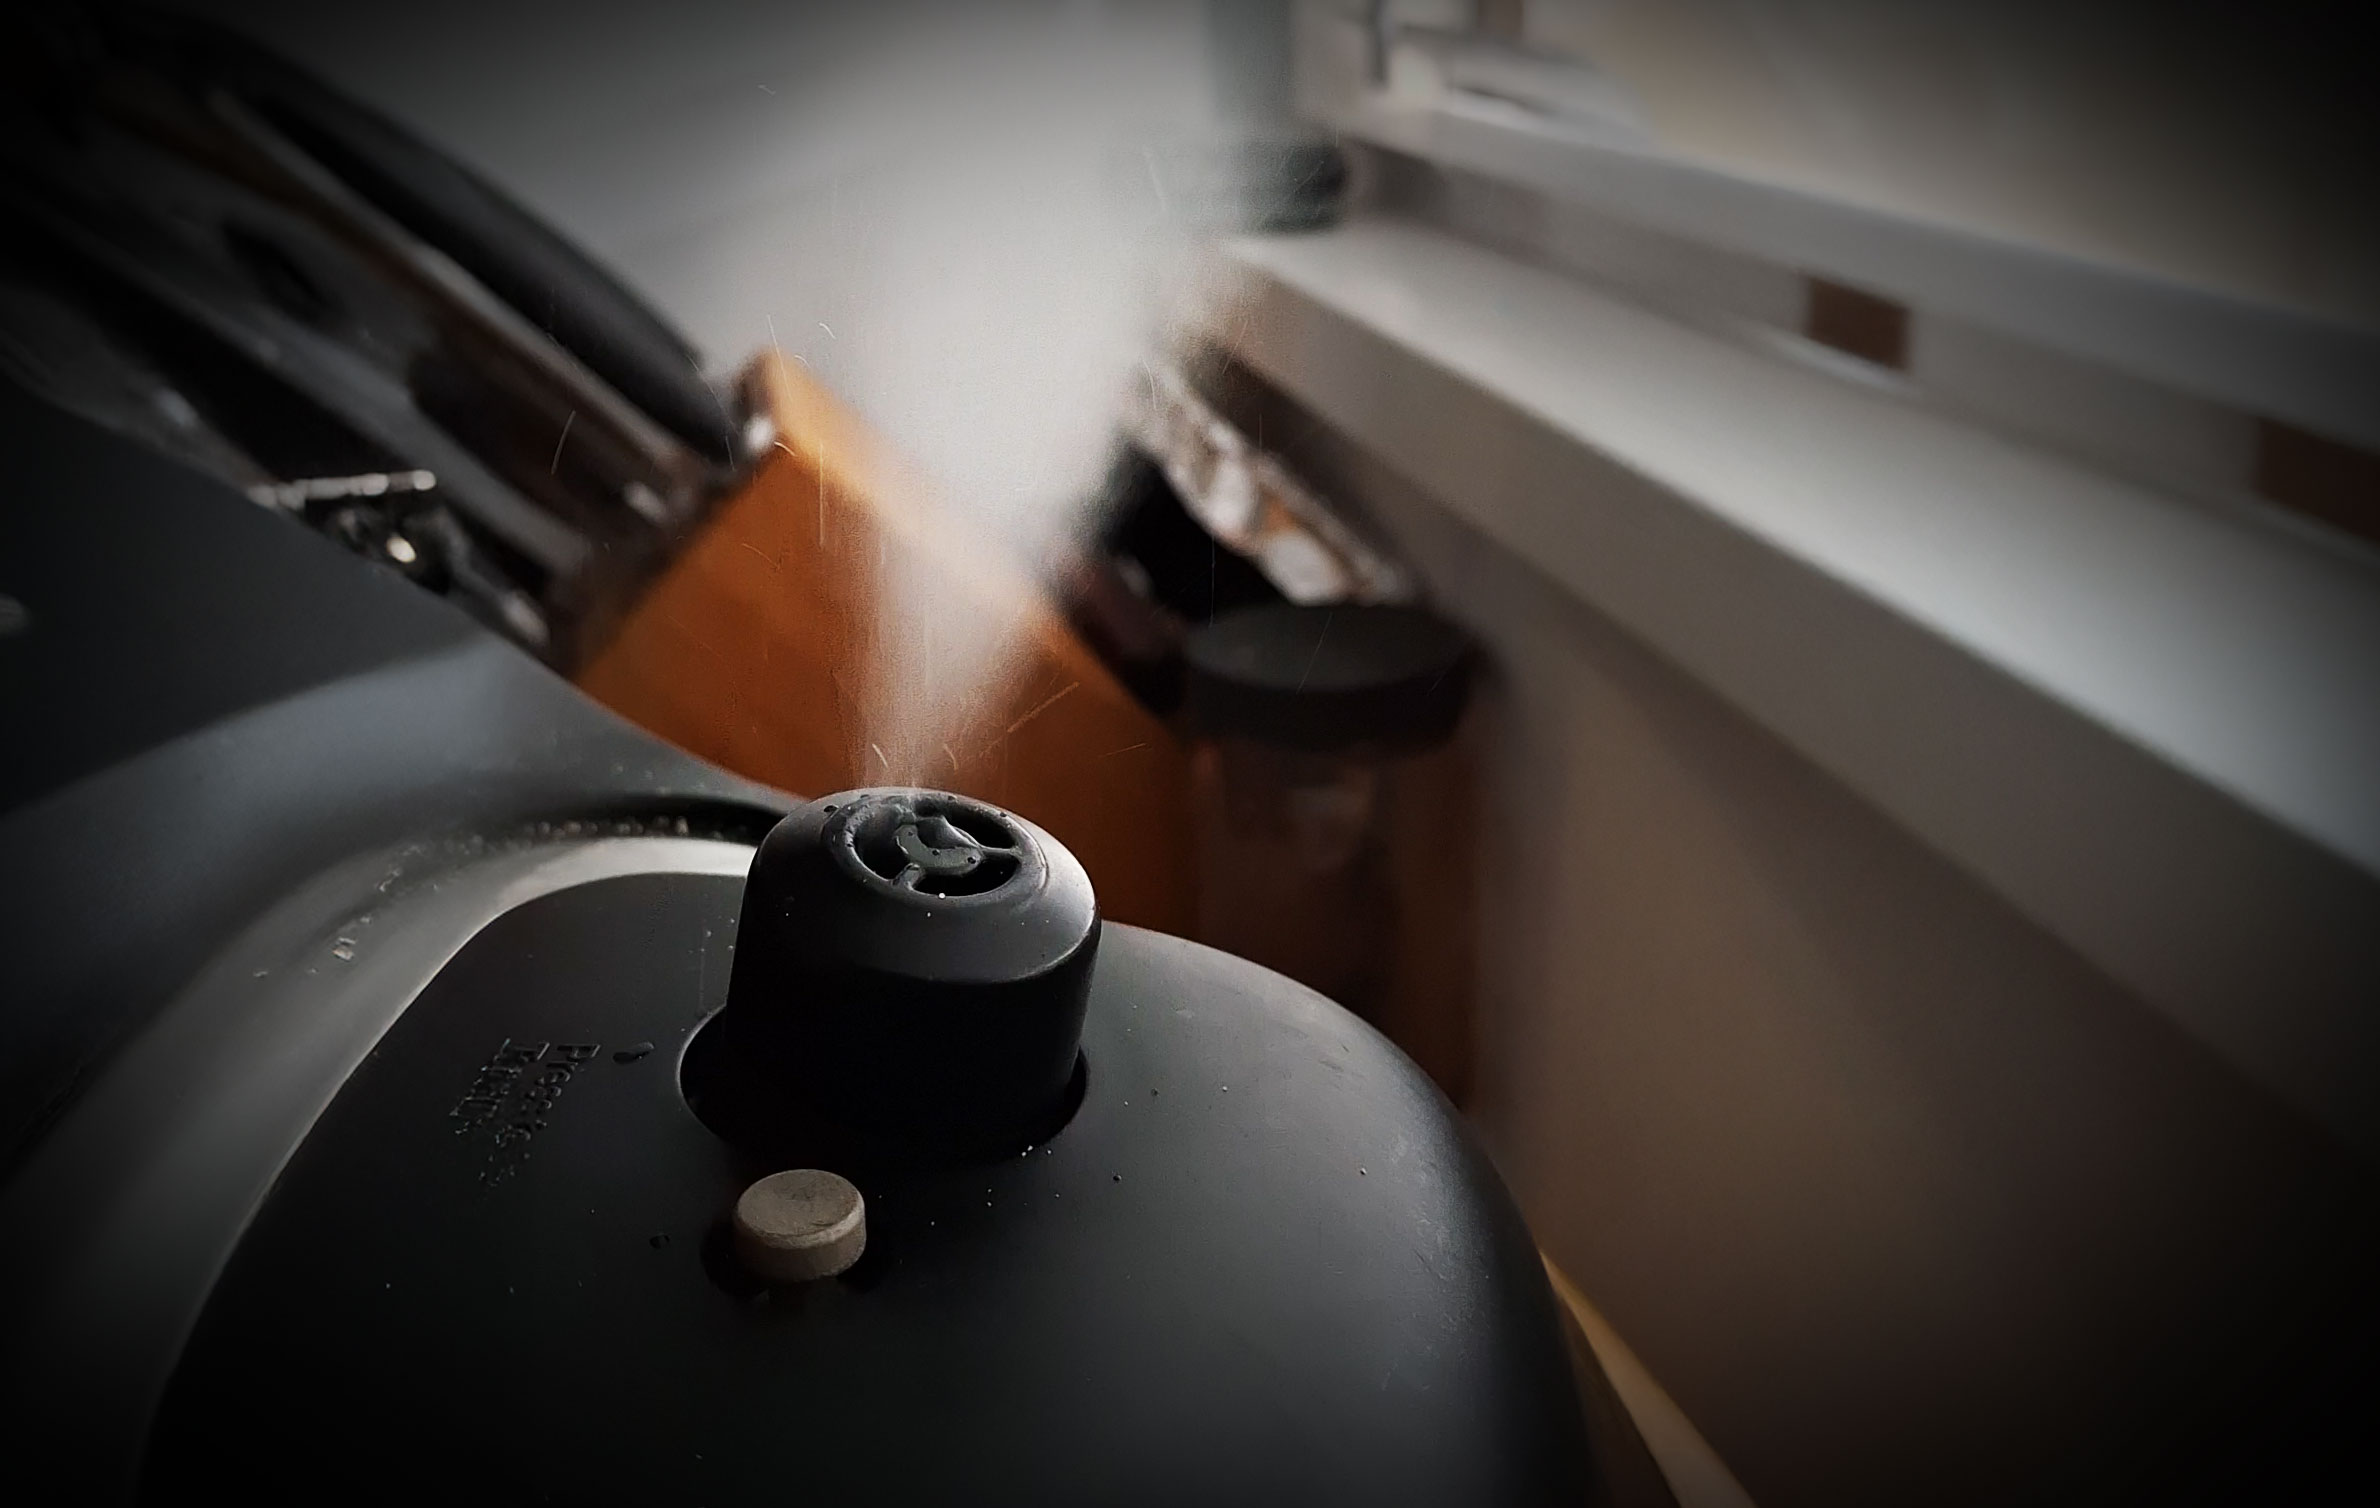
- Steam escapes from the lid
- The float valve stays down
- Food undercooks
Pressure cooking requires an airtight environment.
Most Common Reasons Your Instant Pot Is Not Sealing
- Sealing ring is dirty, twisted, or misaligned
- Float valve is stuck or clogged
- Steam release valve is set to Venting
- Not enough liquid in the pot
- Lid not fully locked
- Food debris blocking the rim
- Worn or stretched silicone sealing ring
7 Proven Fixes for Instant Pot Not Sealing
1. Check the Steam Release Valve
Make sure the steam release valve is set to Sealing, not Venting.
Quick win: A surprising number of “Instant Pot not sealing” reports come down to the valve being left on Venting. Check this before replacing anything.
2. Issues with the Silicone Sealing Ring
The sealing ring is the most common reason an Instant Pot won’t seal. Remove it from the lid, wash it with warm soapy water, rinse thoroughly, dry completely, and reinstall it evenly in the groove with no twists.
Pro tip: Keep two rings — one for savory foods and one for sweet dishes — to reduce odor transfer and extend usable life.
If the ring feels stretched, won’t stay seated, or keeps leaking after cleaning, replacement is likely the fix.
Buy an official Instant Pot sealing ring on Amazon

Common reasons for replacing your sealing ring.

Warping and deformation
Repeated heat cycles, improper storage, and frequent dishwasher use can cause the ring to lose its round shape. A warped ring may sit unevenly in the lid groove, creating small gaps that let steam escape from one side of the lid.
Not every bad sealing ring fails the same way. Understanding the failure pattern helps you decide whether to clean it, keep using it, or replace it.
Odor absorption
Silicone absorbs strong food odors over time, especially from garlic, curry, chili, and fatty foods. This usually does not affect sealing performance, but it can transfer flavors into neutral foods like rice or desserts.
Elasticity loss
As silicone ages, it can lose its ability to compress and rebound. When that happens, the ring may feel loose, fall out more easily, or fail to create the tight seal needed for pressure cooking.
How to inspect the sealing ring correctly
Before replacing the ring, run through a quick diagnostic check:
- Check for visible damage such as cracks, tears, flattening, or uneven thickness.
- Confirm proper seating by making sure the ring is evenly installed with no twisting or bunching.
- Feel for elasticity by lightly pressing the ring. It should still feel flexible and spring back.
- Look for deformation if one section appears stretched, flattened, or no longer sits flush.
- Run a water test after reinstalling it to confirm whether the ring is still sealing properly.
What you should see: A clean, evenly seated ring with no cracks, no visible distortion, and enough elasticity to stay snug in the groove.
Model-specific sealing ring differences
Not all Instant Pot sealing rings are interchangeable.
- 3-quart models use smaller rings and are less forgiving if the ring is slightly misaligned.
- 6-quart models are the most common and have the widest range of replacement options.
- 8-quart models require a larger ring and cannot use a 6-quart version.
There can also be small fit differences between product lines such as the Duo, Lux, and Ultra. Even when a third-party ring is labeled compatible, slight variations in thickness or silicone density can affect sealing performance.
OEM vs third-party sealing rings
Choosing between an official Instant Pot sealing ring and a third-party replacement usually comes down to reliability versus upfront cost.
| Factor | OEM Ring | Third-Party Ring |
|---|---|---|
| Fit accuracy | Exact | Variable |
| Lifespan | Often 12–18 months | Often 6–12 months |
| Failure risk | Lower | Moderate |
| Cost | Higher | Lower |
In general:
- Choose OEM rings for your primary everyday ring and for troubleshooting
- Use third-party rings as backups or for separating sweet and savory cooking
If sealing reliability is your main concern, fit and material consistency matter more than saving a few dollars.

3. Inspect and Clean the Float Valve
The float valve is a critical pressure-sensing component that helps your Instant Pot seal properly. If it cannot move freely, the cooker may fail to build pressure.
Why This Matters
The float valve rises as internal pressure builds, helping lock the lid and signal that the pot has sealed. Any obstruction, buildup, or wear can interfere with that process and lead to steam leaks or failed pressurization.
Inspect for Obstructions
Remove the lid and examine the float valve assembly from both the top and underside.
Check for:
- Food debris such as rice, seeds, or dried sauce
- Sticky grease residue
- Mineral buildup from water
- Warping or visible damage to the valve
Even a small amount of debris can prevent the valve from sealing correctly.
Check the Silicone Cap Under the Lid
Turn the lid over and inspect the small silicone cap that holds the float valve in place.
Look for:
- Cracks or tears
- Stretching or looseness
- Hardening from repeated heat exposure
If this cap is damaged, the float valve may not seat properly and steam may escape during cooking.
Test Valve Movement
Press the float valve gently up and down by hand.
It should:
- Move smoothly
- Have minimal resistance
- Return easily to its resting position
If it sticks, hesitates, or feels uneven, residue or wear is likely interfering with normal movement.
Clean the Float Valve
If the valve does not move freely, disassemble and clean it.
- Remove the silicone cap from the underside of the lid
- Push the float valve out carefully
- Wash both parts with warm, soapy water
- Use a soft brush or toothpick to clean the valve channel
- Rinse and dry everything completely
Avoid abrasive tools that could scratch or damage the parts.
Reassemble and Test
Reinstall the float valve and silicone cap, then check that the valve still moves freely.
For a final test, run a simple water cycle:
- Add 1 to 2 cups of water
- Set the pot to pressure cook
- Confirm the float valve rises and the cooker seals properly
Pro Tip
Float valve problems are often mistaken for sealing ring issues. If your Instant Pot leaks steam from the lid, takes too long to pressurize, or never starts the countdown, inspect the float valve before replacing other parts.
Do I need to replace my float valve?
If your float valve shows any corrosion, doesn’t move freely or looks deformed in any way, replace it. You could try replacing it with at Instant Pot float valve kit on Amazon.
4. Make Sure the Lid Is Fully Locked
This is a surprisingly common cause of sealing failure. If the lid is not fully locked into position, the Instant Pot cannot compress the sealing ring evenly—preventing an airtight seal and stopping pressure from building.
Some models will display a warning or refuse to start. Others will attempt to pressurize but leak steam continuously.
How to Lock the Lid Properly
- Place the lid on the pot with the alignment arrows matched
- Rotate clockwise until you feel resistance and it clicks into place
- Ensure the lid handle is centered and no longer moves freely
What you should feel: A firm stop at the end of rotation. The lid should not feel loose or partially engaged.
If the Lid Feels Loose or Won’t Lock
Check the following in order:
-
Sealing ring seating
Remove and reinstall the ring to ensure it is evenly seated with no twists or gaps. A misaligned ring can prevent the lid from locking fully. -
Obstructions on the rim
Inspect both the lid rim and the top edge of the inner pot. Even small food particles can interfere with alignment. -
Float valve position
If the float valve is stuck in the up position, it can interfere with lid seating on some models. -
Inner pot placement
Make sure the inner pot is sitting flat inside the base and not tilted or misaligned.
Model-Specific Fit Considerations
- Duo models are generally more forgiving and easier to lock
- Lux models may require more precise alignment
- Ultra models tend to have tighter tolerances and require a more exact fit
If you recently replaced the sealing ring with a third-party version, slight differences in thickness or stiffness can make the lid feel harder to close or slightly loose when locked.
When Locking Issues Indicate a Deeper Problem
- Feels loose after locking
- Requires excessive force to close
- Leaks steam even when fully locked
In these cases, the issue is often not the lid itself, but one of the following:
- Warped or stretched sealing ring
- Improperly seated ring
- Incorrect ring size for your model
Quick Diagnostic Tip
- Run a short water test after locking the lid
- Watch for steam escaping from the sides
If steam leaks immediately, the lid may be locked—but the seal is not being achieved, usually due to a sealing ring issue rather than the lid mechanism itself.
Bottom Line
A fully locked lid is not just a positioning step—it’s part of the sealing system. If the lid isn’t properly aligned and secured, the Instant Pot cannot compress the sealing ring, and pressure will never build correctly.
5. Add Enough Thin Liquid
Your Instant Pot requires sufficient thin liquid to generate steam and build pressure. Without enough liquid, the cooker cannot create the internal environment needed for pressure cooking.
In most recipes, this means at least 1 cup of thin liquid such as water or broth. Larger models (like 8-quart) may require slightly more.
Why Thin Liquid Matters
Pressure cooking works by converting liquid into steam. That steam increases pressure inside the sealed pot, which raises the boiling point and cooks food faster.
If there isn’t enough liquid:
- The pot cannot generate enough steam
- Pressure will not build properly
- The float valve may never rise
Common Symptoms of Not Enough Liquid
- Failure to pressurize (timer never starts)
- Steam escaping continuously from the lid
- Burn warning appears on the display
These symptoms often mimic sealing problems, but the root cause is insufficient steam production—not a faulty seal.
What Counts as “Thin Liquid”
Not all liquids behave the same under pressure.
- Good (thin liquids): Water, broth, stock
- Problematic (thick liquids): Tomato sauce, cream, gravy, purees
Thick liquids do not circulate or evaporate efficiently, which can prevent proper steam formation and trigger burn warnings.
Best Practices for Reliable Pressure Building
- Add liquid first before layering other ingredients
- Avoid stirring thick sauces into the base liquid
- Use the “layering method” (liquid on bottom, thicker ingredients on top)
- Increase liquid slightly when cooking grains or absorbent foods
Quick Diagnostic Tip
- Run a water test with 2 cups of water
- If the pot pressurizes normally, your issue was insufficient liquid—not a hardware problem
Bottom Line
If your Instant Pot isn’t sealing or pressurizing, always check your liquid level early in the troubleshooting process. In many cases, simply adding enough thin liquid resolves the issue immediately.
Important: Thick sauces don’t generate steam well on their own. If you’re cooking with thick liquids, add water or broth, or layer thin liquid first.
6. Clean the Lid Rim and Pot Edge
Even tiny food particles can break the seal. It’s also important from a food safety perspective.
Wipe clean:
- The lid rim
- The sealing ring channel
- The top edge of the inner pot
Dry everything before cooking.
How to Run a Water Test (To Confirm It’s Fixed)
A water test is the safest way to confirm whether your Instant Pot is sealing properly after you clean or reseat the ring.
- Add 2 cups of water
- Lock the lid
- Set Pressure Cook for 5 minutes
- Watch for the float valve to rise
- Confirm the pot stops venting from the lid edges
If steam leaks from the sides during the water test, the sealing ring is still the top suspect.
How to interpret the water test
- Works normally: The ring is likely fine and was just dirty or mis-seated
- Steam leaks from the sides: The ring may be warped, twisted, or worn out
- Float valve stays down: Check the ring again, then inspect the float valve and liquid level
- Pressure never builds: Recheck valve position, ring fit, and whether enough thin liquid was added
When to Replace a Part
| Symptom | Most likely fix |
|---|---|
| Steam leaking from sides | Replace sealing ring |
| Float valve won’t move freely | Clean or replace float valve cap |
| Burn warning and won’t seal | Add more thin liquid |
| Lid won’t close or lock | Reseat sealing ring; check alignment |
How to Prevent Instant Pot Sealing Problems
- Clean the sealing ring after every use
- Avoid frequent dishwasher cycles for the ring, which can speed up wear
- Keep a spare ring on hand
- Always confirm the valve is set to Sealing
- Store the lid upside down between uses
Simple maintenance habits that help
A few small habits can prevent most sealing issues before they start:
- Rotate between two sealing rings if you cook strong-smelling foods often
- Do a quick visual inspection before each pressure cycle
- Wipe the lid rim and pot edge even if they look clean
- Replace the ring earlier if you use the Instant Pot heavily every week
FAQ
Why is my Instant Pot leaking steam from the sides?
Usually the sealing ring is misaligned, dirty, warped, or worn out.
Why is the float valve not popping up?
It may be clogged, the valve may be set to Venting, or there may not be enough liquid to build pressure.
Can I cook if my Instant Pot isn’t sealing?
No. It won’t build pressure properly and food may undercook.
How often should I replace the sealing ring?
About every 12–18 months, or sooner if you see damage, stretching, or persistent steam leaks.
Does the dishwasher damage the sealing ring?
Frequent dishwasher use can accelerate silicone wear, stretching, and deformation. Hand washing often helps it last longer.
Why does my Instant Pot show a Burn warning and not seal?
This often happens when there isn’t enough thin liquid, or the contents are too thick to generate steam.
Related Troubleshooting Guides
Complete Instant Pot Troubleshooting Guide
- Instant Pot Not Sealing? How to Fix It: 6 Proven Fixes That Actually Work
- Why your Instant Pot Smells Like Burning Plastic
- Why can’t I close my Instant Pot lid?: How to diagnose and fix it safely
- Instant Pot Burn Message: Causes and Fixes
- Instant Pot Leaking Steam From Lid – Float Valve Stuck: How to Fix It