
The Instant Pot burn message is a common warning during pressure cooking indicating that the pot’s sensor has detected overheating. This guide helps you quickly identify the cause, how to fix it safely, and when to replace parts to get back to hassle-free cooking.
Quick diagnosis
Most likely causes:
- Burn protection triggered due to insufficient liquid in the pot.
- Food stuck to the bottom creating hotspots and triggering the sensor.
- Inner pot not seated properly, causing heating irregularities.
- Using thick sauces or sugary ingredients prone to burning.
- Damaged or worn sealing ring causing pressure issues.
- Dirty or damaged heating element or sensor.
Common symptoms:
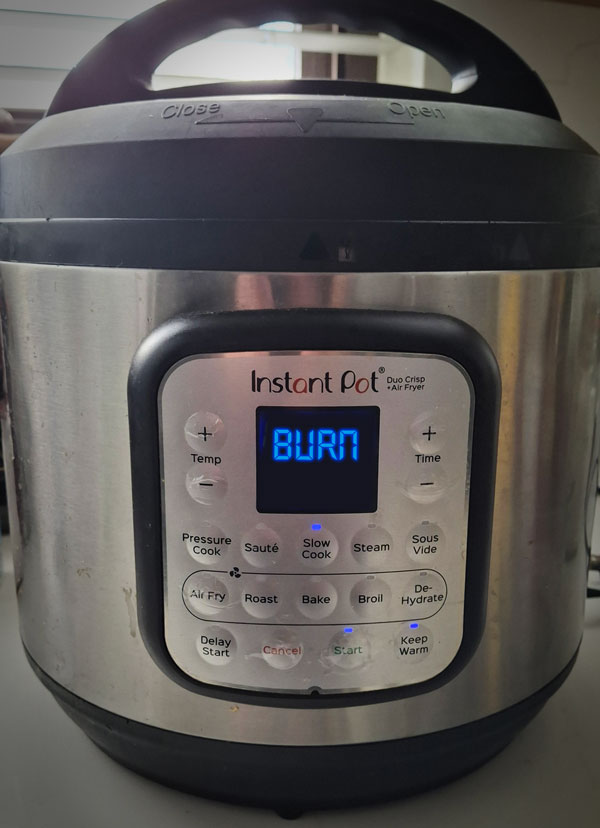
- Instant Pot displays “Burn” or “Food Burn” message on the screen during pressure cooking.
- Food sticks to the bottom of the inner pot with a scorched smell.
- Pressure cooking stops prematurely or will not start properly.
- Steam release is excessive or smells like burnt food.

Step-by-step fix
Step 1: Check and Add Enough Liquid
Open the lid carefully. Ensure your recipe has at least 1 to 1.5 cups of liquid inside the pot to prevent burning. Add water or broth if needed.
What you should see: Instant Pot heats evenly without triggering burn message.
Safety note: Always release pressure before opening the lid to avoid burns.
Step 2: Clean the Bottom of the Inner Pot
Remove the inner pot and inspect the bottom for stuck-on food or residue. Clean thoroughly with a non-abrasive sponge and mild detergent before drying it completely.
What you should see: No stuck food that could cause hotspots leading to burn message.
Safety note: Do not use metal scrubbers which can damage the inner pot’s surface.

Step 3: Reseat the Inner Pot Properly
Place the clean inner pot back into the Instant Pot. Rotate it slightly to ensure it sits evenly on the heating element.
What you should see: Proper contact between the inner pot and heating base to avoid burn message.
Safety note: Make sure the pot is dry on the outside to maintain good heat conduction.
Step 4: Run a Test Pressure Cook Cycle
Fill the inner pot with 2 cups of water. Close the lid and set the Instant Pot to pressure cook for 5 minutes. Observe if the burn message appears again.
What you should see: No burn message during this test means main issue is resolved.
Safety note: Ensure the sealing ring and lid are properly locked before starting.

Step 5: Check and Replace Worn Sealing Ring if Needed
Inspect the silicone sealing ring for cracks, deformations, or discoloration. Replace it if it looks damaged or old.
What you should see: Proper pressure build-up avoiding burn message triggered by pressure leaks.
Safety note: Use only manufacturer-compatible parts or high-quality replacements.
When you should replace a part
Replace any damaged parts immediately if cleaning and reseating do not resolve the burn message. Consistent burn messages despite normal liquid levels and clean inner pot often indicate faulty sealing rings or sensors needing replacement.
Visit https://instantpot.com/pages/product-warranties for warranty information and service.
Recommended replacement parts (if needed)
| Image | Part | Why it helps | Replacement guide | Buy at Amazon |
|---|---|---|---|---|

|
Silicone Sealing Ring | A worn or damaged sealing ring can cause pressure leaks, leading to burn messages. | View Guide | Buy Now |

|
Inner Pot | A scratched or warped inner pot can cause uneven heating and burning. | View Guide | Buy Now |

|
Silicone Steamer Basket | Using accessories like silicone baskets can help prevent food from sticking and burning during steaming. | View Guide | Buy Now |
Silicone Sealing Ring

Why this helps: A worn or damaged sealing ring can cause pressure leaks, leading to burn messages.
- Replacement guide: /instant-pot-parts/sealing-ring-replacement/
- Buy Now
Inner Pot
Why this helps: A scratched or warped inner pot can cause uneven heating and burning.
- Replacement guide: /instant-pot-parts/inner-pot-replacement/
- Buy Now
Silicone Steamer Basket
Why this helps: Using accessories like silicone baskets can help prevent food from sticking and burning during steaming.
- Replacement guide: /instant-pot-parts/steamer-basket/
- Buy Now
Related troubleshooting
Start here: Complete Instant Pot Troubleshooting Guide
- Instant Pot Not Sealing? How to Fix It: 6 Proven Fixes That Actually Work
- Why your Instant Pot Smells Like Burning Plastic
- Why can’t I close my Instant Pot lid?: How to diagnose and fix it safely
- Instant Pot Burn Message: Causes and Fixes
- Instant Pot Leaking Steam From Lid – Float Valve Stuck: How to Fix It
FAQ
Why does my Instant Pot say Burn even when there’s liquid?
The burn message can occur if food or thick sauces stick to the inner pot’s bottom, causing hotspots even if liquid is present.
Can using a nonstick inner pot prevent burn messages?
Nonstick pots help reduce food sticking and burning, potentially minimizing burn messages during cooking.
How much liquid should I always add to avoid burn messages?
Typically, at least 1 to 1.5 cups of liquid is needed depending on the recipe to prevent burning and ensure proper pressure.
Is it safe to continue cooking after the burn message appears?
No, immediately stop cooking, release pressure safely, and address the cause before continuing to avoid damage or safety risks.
Do I need to replace the sealing ring often?
Sealing rings wear over time and with use; inspect regularly and replace every 12-18 months or if showing damage.
What accessories help prevent burning in Instant Pot?
Silicone steamer baskets and nonstick-safe utensils can help prevent food sticking and burning inside the pot.
Can a damaged sensor cause burn messages?
Yes, a faulty temperature sensor might incorrectly detect overheating and trigger the burn message.
